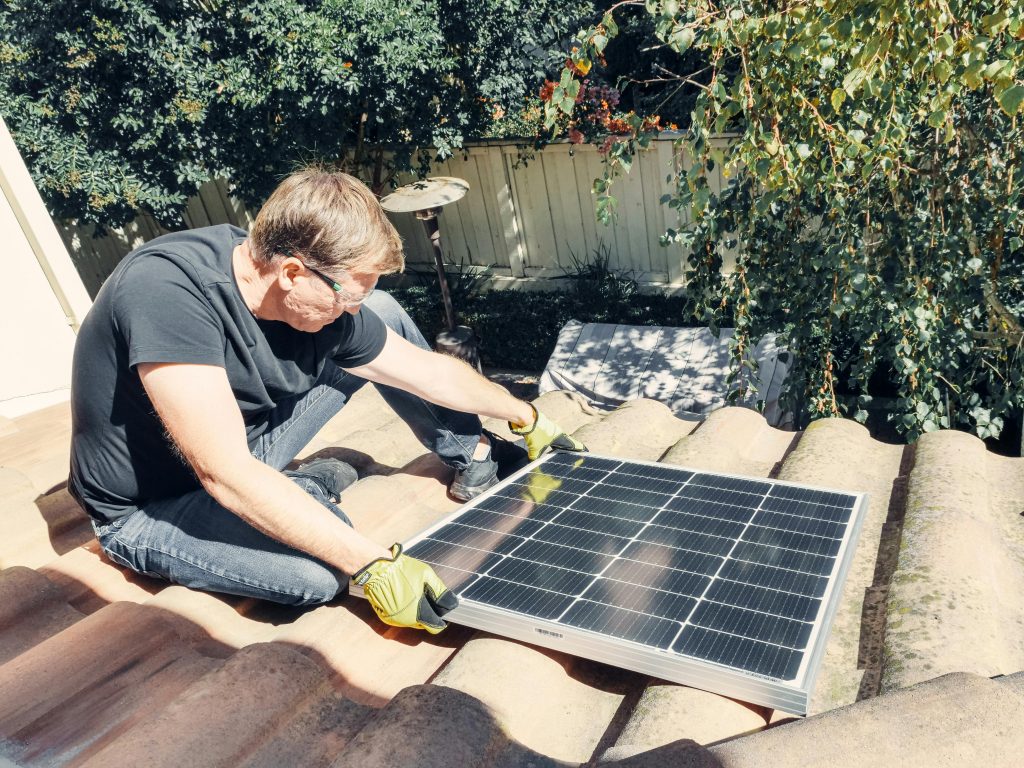
Converting outdoor lighting to solar can mean one of two very different projects: replacing individual fixtures with self-contained solar lights, or building a small low-voltage system with a separate panel, battery, controller and several lights. The first is simpler. The second is more flexible, but it requires an honest energy budget and weather-resistant installation.
Option 1: self-contained solar fixtures
A self-contained fixture combines a small photovoltaic panel, rechargeable battery, control electronics and LED light. It is usually the practical choice for path markers, occasional accent lighting and locations where running cable would be difficult.
Look beyond a product’s maximum lumen claim. Check whether the manufacturer publishes:
- run time at each brightness setting;
- battery chemistry and replaceability;
- panel wattage or dimensions;
- motion-sensor behavior and standby brightness;
- operating-temperature limits;
- an outdoor ingress rating for the complete fixture;
- warranty length and replacement-part support.
Runtime claims are normally based on favorable charging conditions. Shade, short winter days, dirt, snow, high temperatures and battery aging can reduce performance. A lower brightness setting or motion-only mode often provides more dependable winter service than continuous maximum output.
Option 2: a custom low-voltage solar-lighting system
A custom system is useful when several fixtures need consistent output or the panel must be placed away from the lights. The usual parts are a listed solar panel, charge controller, battery, low-voltage distribution, properly sized cable, overcurrent protection, weather-rated enclosures and compatible LED fixtures.
Start with energy, not panel size. Add the daily watt-hours for every light:
light watts × hours per night = watt-hours per night
For example, four 3-watt lights operating for five hours use 60 Wh per night. That is only the load. The design also needs margin for controller and wiring losses, battery reserve, imperfect panel angle and consecutive cloudy days.
Size the panel with local solar data
A simple planning estimate is:
daily load ÷ local peak-sun-hours ÷ system efficiency = minimum panel watts
Using the 60 Wh example, four peak-sun-hours and 70% overall collection efficiency gives about 22 W. A practical design would normally use more than that minimum to improve recovery after weak weather. Use NREL PVWatts to understand seasonal solar resource at the location, and base the design on the difficult season rather than an annual average.
Battery capacity and chemistry
Battery capacity should cover the nightly load, reserve and desired cloudy-day autonomy without repeatedly exceeding the battery’s recommended depth of discharge. Cold temperatures can reduce available capacity and may make charging unsafe for some lithium batteries unless the battery management system provides low-temperature protection.
Do not assume that any battery with the right voltage is compatible. Confirm the controller’s charging profile, maximum current, temperature sensor requirements and enclosure needs. A qualified installer should handle any system that connects to building wiring, line voltage or an occupied structure’s electrical system.
Placement matters as much as specifications
- Put the panel where it receives direct sun during the weak season, not just at midday in summer.
- Avoid mounting the panel under eaves, tree canopies or the light’s own shadow.
- Keep it accessible for cleaning and snow removal.
- Aim path and step lights downward to reduce glare and light trespass.
- Use motion sensing or timers where continuous light is unnecessary.
- Protect cable from abrasion, animals, landscaping tools and standing water.
Safety and certification
An “IP” code describes resistance to dust and water under specified test conditions; it does not by itself establish electrical or fire safety. Look for appropriate certification or listing marks on complete products and power components. UL explains both solar-lighting evaluation and how to recognize its safety marks.
Also respect dark-sky ordinances, property lines and local rules about exterior illumination. More lumens are not automatically safer; glare can make it harder to see and can disturb neighbors and wildlife.
When conversion is not the best choice
If an existing wired LED system already works reliably and uses little energy, replacing it solely to call it “solar” may add batteries and electronics without a meaningful benefit. Solar is most compelling when trenching or wiring would be costly, the light needs to operate independently, or the load can be kept small and intermittent.
Bottom line
Choose self-contained fixtures for simple, low-stakes lighting. Choose a custom low-voltage system only when you can calculate the load, size for the weak season and install weather-rated, compatible components. The honest comparison is reliability, useful light and total maintenance—not a “free energy” label.